
Dylib Injection in iOS Apps: From Concept to Exploit

Dylib injection in iOS apps is a fascinating yet complex topic that allows developers (and attackers) to alter the behavior of applications by injecting dynamic libraries. This technique has been used for various purposes, from adding fun features to apps to maliciously modifying their behavior. In this guide, we’ll dive deep into the process of dylib injection, providing you with detailed steps, explanations, and real-world examples to help you understand not just the how, but also the why behind each step.
By the end of this article, you’ll not only have a solid grasp of how dylib injection works but also appreciate the power (and danger) that comes with it. We’ll also discuss how you can protect your apps from such attacks. So, buckle up — this is going to be an exciting ride!
Step 1: Creating a Sample iOS App
Why Create a Sample App?
Before we dive into injecting dylibs, we need a target app to work with. Creating a simple app serves as the playground where we can safely test and observe the effects of our injections. This step also helps you understand the structure of an iOS app, which is crucial when we start tampering with it.
Setting Up the Project
- Open Xcode and create a new iOS project.
- Select App under the iOS section.
- Click Next.
2. Configure your project:
- Product Name:
DebrajDylibInjection - Organization Identifier:
com.example - Language: Swift
- User Interface: Storyboard
- Click Next and choose a location to save your project.
Adding Functionality to the App
To make our sample app a bit more interactive, let’s add some basic UI elements and functionalities. This will give us something to tamper with later using our injected dylib.
- Open
Main.storyboardin Xcode and add the following UI elements:
- A
UILabelto display status messages. - A
UIButtonto trigger a change in the text and image. - An
UIImageViewto display an image. - A
UITextFieldfor user input. - A
UISliderto adjust the image’s transparency. - A
UISwitchto toggle a feature on and off.
2. Set up IBOutlets and IBActions in your ViewController.swift file to connect the UI elements to the code:
import UIKit

class ViewController: UIViewController {
    @IBOutlet weak var statusLabel: UILabel!
    @IBOutlet weak var imageView: UIImageView!
    @IBOutlet weak var transparencySlider: UISlider!
    @IBOutlet weak var featureSwitch: UISwitch!
    @IBAction func buttonClicked(_ sender: UIButton) {
        statusLabel.text = "Image Updated!"
        imageView.image = UIImage(named: "sample_image")
    }
    @IBAction func transparencyChanged(_ sender: UISlider) {
        imageView.alpha = CGFloat(sender.value)
    }
    @IBAction func featureToggled(_ sender: UISwitch) {
        if sender.isOn {
            statusLabel.text = "Feature Enabled"
        } else {
            statusLabel.text = "Feature Disabled"
        }
    }
    override func viewDidLoad() {
        super.viewDidLoad()
        statusLabel.text = "Welcome!"
        imageView.image = UIImage(named: "sample_image")
        imageView.alpha = 1.0
    }
}
Why These Functionalities?
We chose these functionalities because they are straightforward and give us multiple ways to demonstrate the impact of dylib injection. By modifying how these elements behave, we can clearly see the effect of our injected code, making it easier to understand the process.
- Add a sample image to your project by dragging it into the Assets folder and naming it
sample_image. - Build and run the app on your jailbroken iPhone to ensure everything works as expected. This step verifies that our baseline app is functioning correctly before we start injecting any malicious code.
Step 2: Creating a Dynamic Library (dylib)
What Is a Dylib and Why Are We Creating One?
A dylib (dynamic library) is a file containing compiled code that can be loaded and executed by an app at runtime. By injecting a dylib into an app, we can alter its behavior without modifying the app’s original source code. This is particularly useful (or dangerous) because it allows us to introduce new functionalities or tamper with existing ones.
Setting Up the Dylib Project
- Create a new project in Xcode by selecting Cocoa Touch Framework under Framework & Library. This type of project will allow us to create a dylib.
- Click Next.
2. Configure your project:
- Product Name:
DebrajDylib - Organization Identifier:
com.example - Language: Objective-C
- Click Next and choose a location to save your project.
Implementing the Dylib’s Functionality
Now, let’s write some code that will modify the behavior of our sample app when the dylib is injected. We’ll create two methods: one to display a message that the app has been tampered with, and another to apply a more advanced visual effect.
- Open
DebrajDylib.hand declare the methods we’ll be implementing:
#import <Foundation/Foundation.h>

@interface DebrajDylib : NSObject
+ (void)tamperFunctionality;
+ (void)advancedTampering;
@end
2. Open DebrajDylib.m and implement the methods:
#import "DebrajDylib.h"
#import <UIKit/UIKit.h>

@implementation DebrajDylib
+ (void)tamperFunctionality {
    // This method displays a message indicating that the app has been tampered with
    dispatch_async(dispatch_get_main_queue(), ^{
        UIWindow *window = [UIApplication sharedApplication].keyWindow;
        UILabel *tamperedLabel = [[UILabel alloc] initWithFrame:CGRectMake(50, 300, 300, 50)];
        tamperedLabel.text = @"App is Tampered!";
        tamperedLabel.textColor = [UIColor redColor];
        tamperedLabel.textAlignment = NSTextAlignmentCenter;
        tamperedLabel.font = [UIFont boldSystemFontOfSize:24];
        [window addSubview:tamperedLabel];
    });
}
+ (void)advancedTampering {
    // This method changes the background color and adds a confetti effect
    dispatch_async(dispatch_get_main_queue(), ^{
        UIWindow *window = [UIApplication sharedApplication].keyWindow;
        // Change the background color to black
        window.backgroundColor = [UIColor blackColor];
        // Add a confetti effect
        UIView *confettiView = [[UIView alloc] initWithFrame:window.bounds];
        confettiView.backgroundColor = [UIColor clearColor];
        [window addSubview:confettiView];
        CAEmitterLayer *emitter = [CAEmitterLayer layer];
        emitter.emitterPosition = CGPointMake(confettiView.bounds.size.width / 2, -10);
        emitter.emitterShape = kCAEmitterLayerLine;
        emitter.emitterSize = CGSizeMake(confettiView.bounds.size.width, 2.0);
        CAEmitterCell *cell = [CAEmitterCell emitterCell];
        cell.birthRate = 20.0;
        cell.lifetime = 14.0;
        cell.velocity = 100;
        cell.velocityRange = 50;
        cell.emissionLongitude = M_PI;
        cell.spin = 3.5;
        cell.scale = 0.1;
        cell.contents = (id)[[UIImage imageNamed:@"confetti"] CGImage];
        emitter.emitterCells = @[cell];
        [confettiView.layer addSublayer:emitter];
    });
}
@end
Breaking Down the Code
tamperFunctionality: This method adds a new label to the app’s main window, displaying a message that the app has been tampered with. It’s a simple yet effective way to visually indicate that the app’s behavior has been altered.advancedTampering: This method takes the tampering a step further by changing the background color of the app’s main window and adding a confetti effect. This not only disrupts the user experience but also demonstrates how dylib injection can be used to make more drastic changes to an app’s appearance.
Building the Dylib
3. Build the dylib for the device architecture (arm64). Once built, you should have a DebrajDylib.dylib file ready for injection.
Step 3: Injecting the Dylib into the Sample App
Understanding the Injection Process
Now that we have our dylib, it’s time to inject it into our sample app. Injection is the process of forcing an app to load and execute our dylib, which will, in turn, modify the app’s behavior. This is where things get interesting — by hooking into the app’s methods, we can execute our custom code (from the dylib) instead of or alongside the app’s original code.
Disassembling the App
- Disassemble the
DebrajDylibInjectionapp usingclass-dumpto find the method to tamper with:
- Install
class-dumpusing Homebrew:
brew install class-dump
- Dump the headers:
class-dump -H /path/DebrajDylibInjection.app -o /path/output
The class-dump tool extracts the headers of an app, allowing us to see the structure of the app’s classes and methods. This is crucial because it helps us identify where we can hook our dylib methods.
Creating a MobileSubstrate Tweak
2. Create a MobileSubstrate tweak to inject the dylib:
- Create a new folder named
DebrajDylibInjectionTweak. - Inside the folder, create a
Tweak.xmfile with the following content:
%hook ViewController
- (void)viewDidLoad {
    %orig;
    // Inject our custom code here
    [DebrajDylib tamperFunctionality];
    [DebrajDylib advancedTampering];
}
%end
What’s Happening Here?
%hook ViewController: This directive tells MobileSubstrate to hook into theViewControllerclass, specifically itsviewDidLoadmethod, which is called when the view is loaded into memory.%orig: This calls the original implementation ofviewDidLoadto ensure the app’s normal initialization still occurs.- Custom Code: After the original
viewDidLoadcode runs, we inject our custom methods fromDebrajDylib, tampering with the app’s behavior as soon as the view is loaded.
Creating a Makefile
3. Create a Makefile in the DebrajDylibInjectionTweak folder:
THEOS_DEVICE_IP = 192.168.0.101
ARCHS = arm64
TARGET = iphone:17.5:10.0
PACKAGE_VERSION = 1.0.0
PACKAGE_BUILD_DIR = $(THEOS_PROJECT_DIR)/DebrajDylibInjectionTweak

include $(THEOS)/makefiles/common.mk

TWEAK_NAME = DebrajDylibInjectionTweak
DebrajDylibInjectionTweak_FILES = Tweak.xm DebrajDylib/DebrajDylib.m
DebrajDylibInjectionTweak_FRAMEWORKS = UIKit
DebrajDylibInjectionTweak_LIBRARIES = substrate
DebrajDylibInjectionTweak_CFLAGS = -I./DebrajDylib

include $(THEOS_MAKE_PATH)/tweak.mk

after-install::
    install.exec "killall -9 SpringBoard"
internal-package:: control
control::
    mkdir -p $(THEOS_STAGING_DIR)/DEBIAN
    cp DEBIAN/control $(THEOS_STAGING_DIR)/DEBIAN/control
    @echo "Control file path: $(THEOS_STAGING_DIR)/DEBIAN/control"
    @ls -la $(THEOS_STAGING_DIR)/DEBIAN
Compiling and Installing the Tweak
4. Compile and install the tweak on your jailbroken iPhone:
- Install Theos on your Mac:
git clone --recursive https://github.com/theos/theos.git export THEOS=~/theos
- Build and install the tweak:
make DebrajDylibInjectionTweak install
This command compiles the tweak, packages it, and installs it on your iPhone. Once installed, the tweak will inject our dylib into the DebrajDylibInjection app whenever it is launched.
Step 4: Sign and Install the Patched App
Why Do We Need to Re-sign the App?
Since the app is being modified (by injecting our dylib), it needs to be re-signed to ensure that the operating system will trust and run it. On jailbroken devices, strict code signing can be bypassed, but we still need to sign the app to load it on the device.
- Re-sign the app using
ldid:
- Install
ldidon your Mac:
brew install ldid
- Re-sign the app:
ldid -S /path/to/DebrajDylibInjection.app/DebrajDylibInjection
2. Install the app on your jailbroken iPhone:
- Use
scpto copy the app to your device:
scp -r /path/to/DebrajDylibInjection.app root@your_device_ip:/Applications/
- Respring your device to load the app.
Step 5: Verify the Injection
Testing the Tampered Functionality
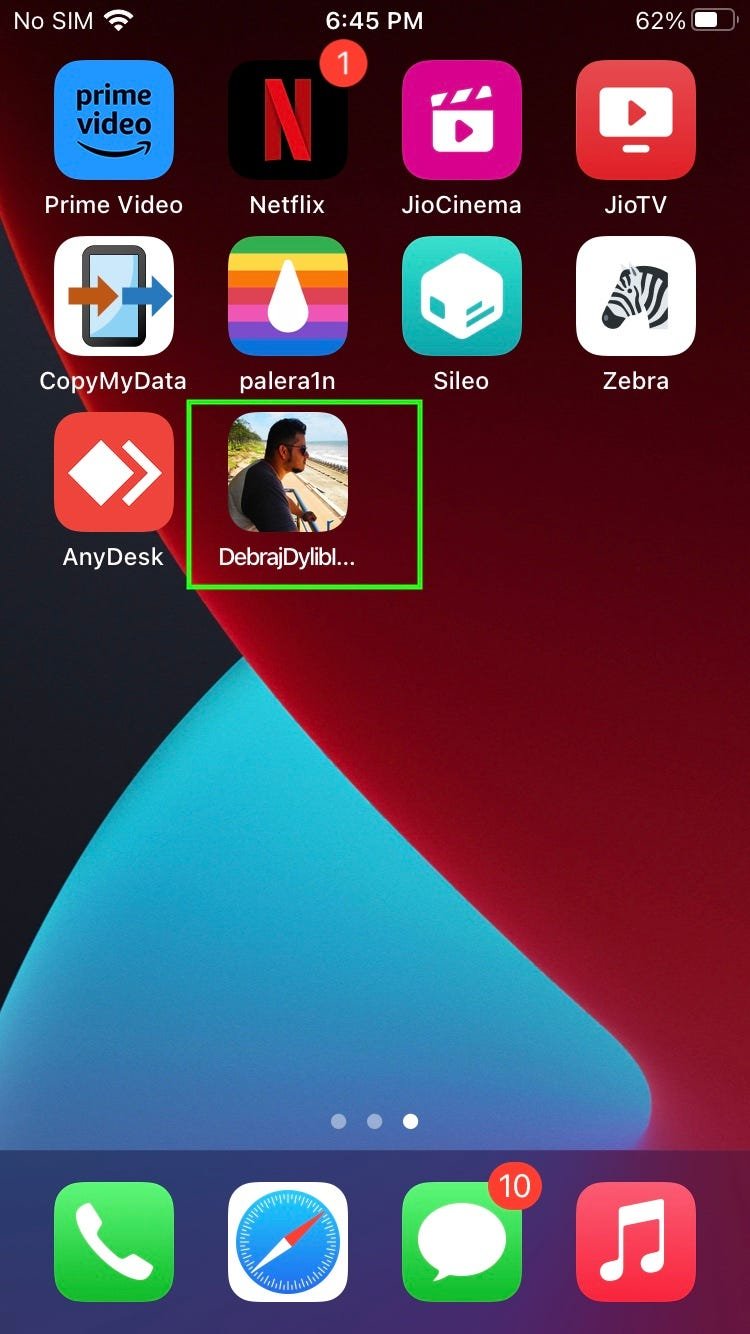
- Open the DebrajDylibInjection app on your jailbroken iPhone.
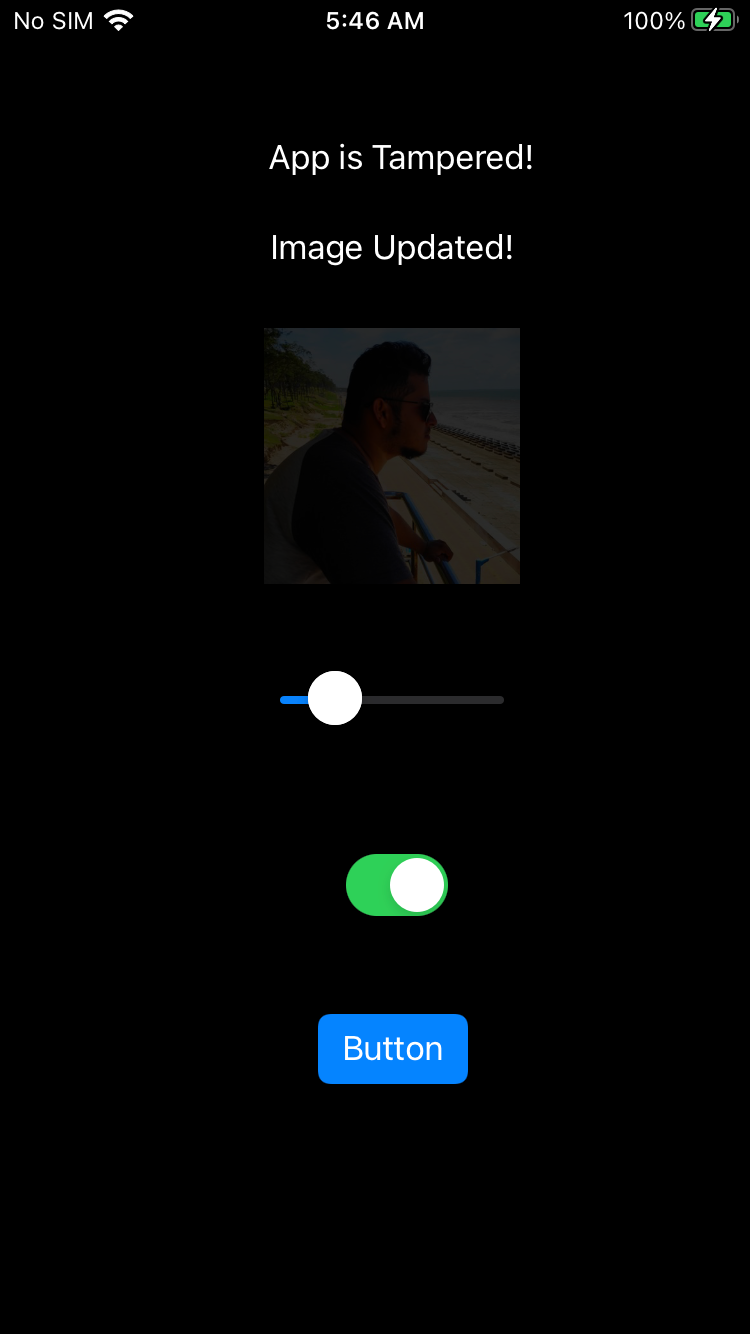
- Click the button and observe the changes. If everything worked as expected, you should see the “App is Tampered!” message, the background color change, and maybe even some confetti raining down on the screen.
This is the magic of dylib injection — you’ve successfully altered the behavior of an iOS app without modifying its original source code. You’ve seen firsthand how injecting a dynamic library can manipulate an app in ways that developers never intended.
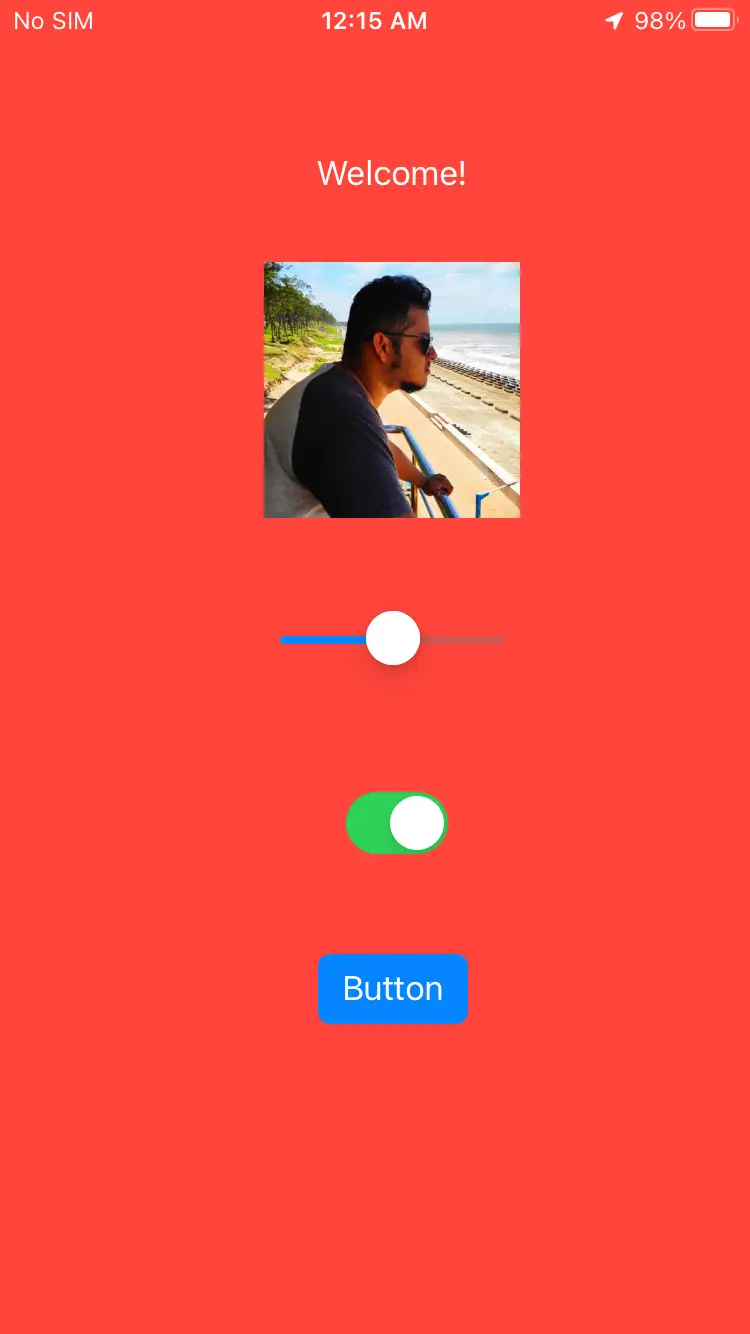
Before the attack
After the dylib Injection
Real-World Examples of Dylib Injection
Dylib injection is not just an academic exercise — it has real-world implications, both benign and malicious. Here are some examples:
Pokémon Go: Remote Joysticks and Location Spoofing
When Pokémon Go was all the rage, some users didn’t want to walk miles to catch that rare Pokémon. Enter dylib injection: hackers injected a dylib to add a remote joystick, allowing players to spoof their location and catch Pokémon from the comfort of their couch. This not only disrupted the game’s geolocation-based gameplay but also provided an unfair advantage to those using the hack.
Instagram: Custom Filters
In a less malicious but still unauthorized use case, developers have used dylib injection to add custom filters to Instagram. By injecting a dylib, they were able to modify the app’s image processing capabilities, adding filters that were not available in the official app. While this might seem like a harmless enhancement, it highlights the potential for unauthorized modifications to any app.
Additional Test Cases for Dylib Injection
Dylib injection can be used in various contexts to test or exploit different aspects of an app:
- Social Media Apps: Inject a dylib to alter how posts are displayed or to bypass certain content restrictions.
- Banking Apps: Inject a dylib to capture sensitive user information like login credentials — an extremely malicious use case.
- Games: Modify in-game assets, unlock premium features, or alter gameplay mechanics without purchasing in-app content.
Mitigations Against Dylib Injection
Given the potential for harm, it’s crucial to implement strategies to protect your apps from dylib injection:
- Code Signing: Ensure all your app’s binaries are properly signed. Unsigned code should not be allowed to execute, as this can prevent unauthorized dylibs from being injected.
- Runtime Integrity Checks: Implement checks within your app to detect unauthorized modifications, such as unexpected changes in memory or additional loaded libraries.
- Jailbreak Detection: Since dylib injection typically requires a jailbroken device, robust jailbreak detection mechanisms can help prevent your app from running on compromised devices.
- Binary Encryption: Encrypt your app’s binary to make reverse-engineering and modifying the code significantly more difficult.
Conclusion
Dylib injection is a powerful technique that demonstrates both the flexibility and the vulnerabilities of iOS apps. By understanding how dylib injection works, you gain insight into the security landscape of mobile applications. However, with this knowledge comes the responsibility to protect your apps from such attacks.
Whether you’re a developer looking to enhance your app’s security or a security researcher exploring the boundaries of iOS, mastering dylib injection provides valuable insights. Just remember to use your skills ethically!
Congratulations! You’ve now journeyed through the entire process of dylib injection, from creating a sample app to injecting your custom code. Go ahead and explore more, but always keep security in mind. Happy hacking! 😎